What you’ll do
- Prepare a Salesforce integration user and required permissions.
- Connect Salesforce to Core8 and configure required mappings.
- Verify sync results and troubleshoot common issues.
Availability
- Only managers can manage integrations.
- Open Settings → Integrations (URL:
/{orgId}/integrations). - If the Salesforce tile is disabled in your organization, contact Core8 support.
Checklist Before Clicking “Connect”
Complete these steps once per Salesforce org. They ensure Core8 can authenticate and sync data without running into Salesforce permission errors.- Create a dedicated integration user
- A dedicated user isolates integration activity for security, auditability, and easier troubleshooting.
- Salesforce Setup → Users → New User
- License: Salesforce Integration (user license; preferred for API-only integrations because it’s designed for system access and is more cost-effective; fallback: Salesforce user license).
- Profile: Minimum Access – API Only Integrations (or the legacy Salesforce API Only System Integrations)
- Set the password via the welcome email and optionally lock down login IP ranges / password expiry.
- Assign a Core8 permission set
Setup → Permission Sets → New → Core8 Integration- System permissions: leave
View All Data/Modify All Dataunchecked. - Object permissions: at minimum, grant Read access to Accounts, Contacts, Opportunities, OpportunityLineItems, Products, and Pricebooks (and any custom fields your org relies on). If you enable write-back flows, also grant Create/Edit access to the objects Core8 writes.
- Field-level security: mark all fields the integration reads as Visible and any fields it writes as Editable.
- Assign the permission set to the integration user. If the org exposes the Salesforce API Integration (permission set license), assign that as well.
- Restrict the Core8 Connected App (highly recommended, especially for production)
- Setup → App Manager → locate the Core8 connected app (typically named “Core8 Integration” or similar; it appears automatically after your first OAuth connect attempt—no manual creation needed).
- Edit Policies: set “Permitted Users” to Admin approved users are pre-authorized (prevents unauthorized approvals), add the integration user’s profile or permission set under “Manage Profiles”/“Assigned Connected Apps”, and choose an IP/refresh-token policy that matches your security posture.
Connecting Core8 to Salesforce
-
Log into the appropriate Salesforce domain in your browser (
https://login.salesforce.comfor production,https://test.salesforce.comfor sandbox). Make sure you are in the correct org—using an incognito/private window can help avoid authorizing the wrong environment. -
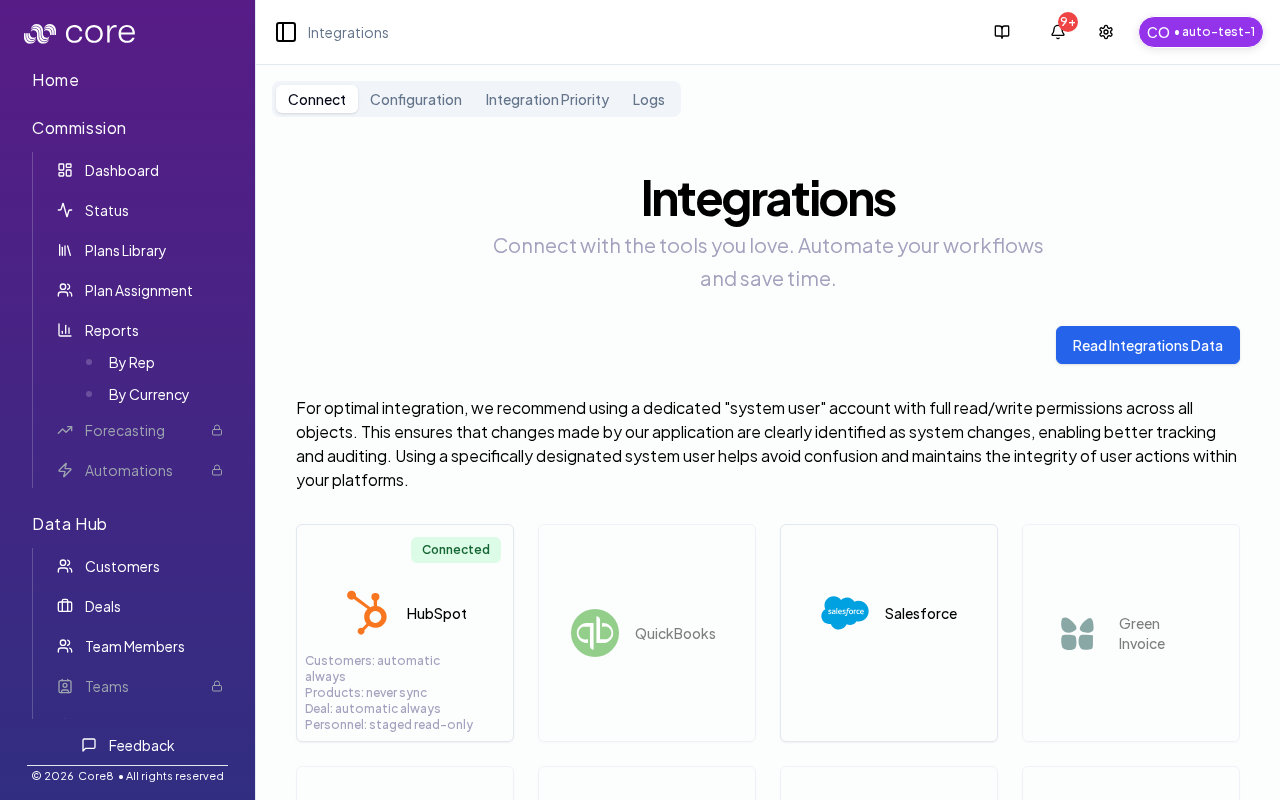
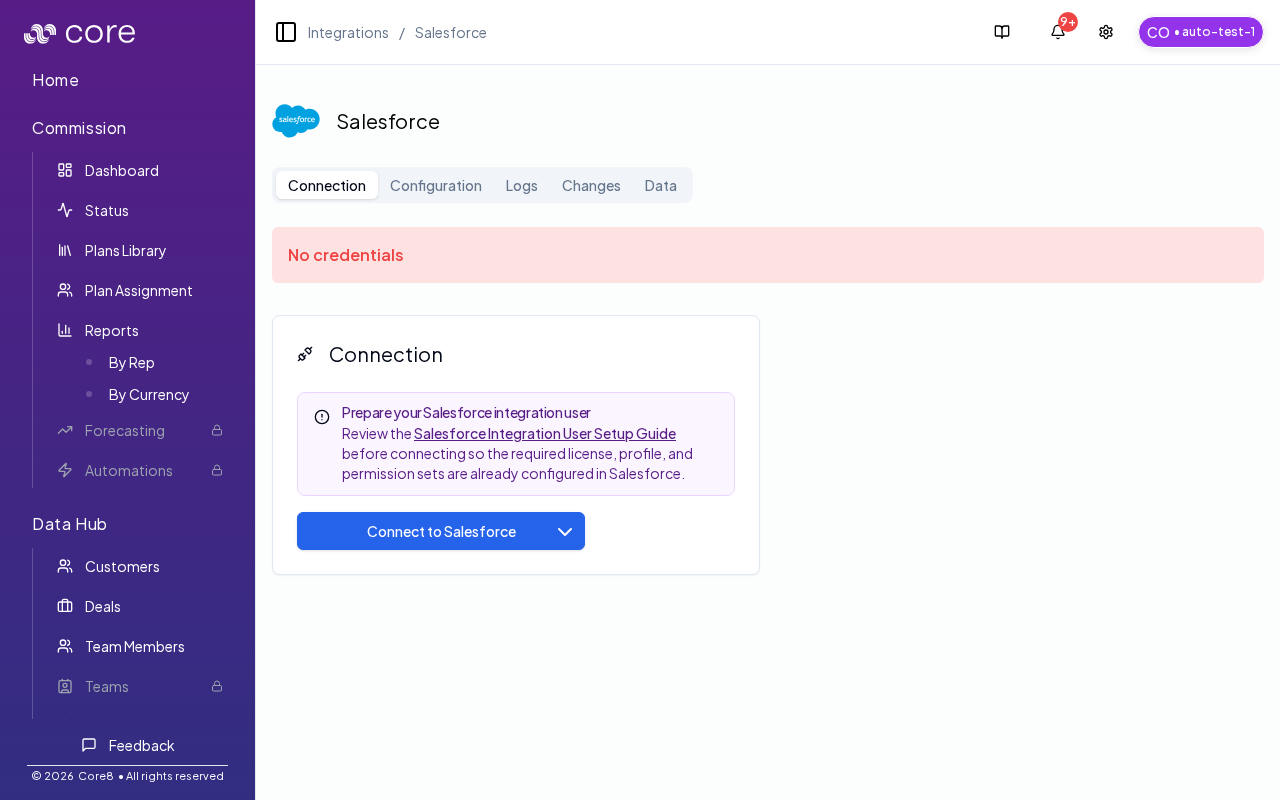
In Core8, go to Settings → Integrations and open the Salesforce tile.
-
Click Connect to Salesforce.
-
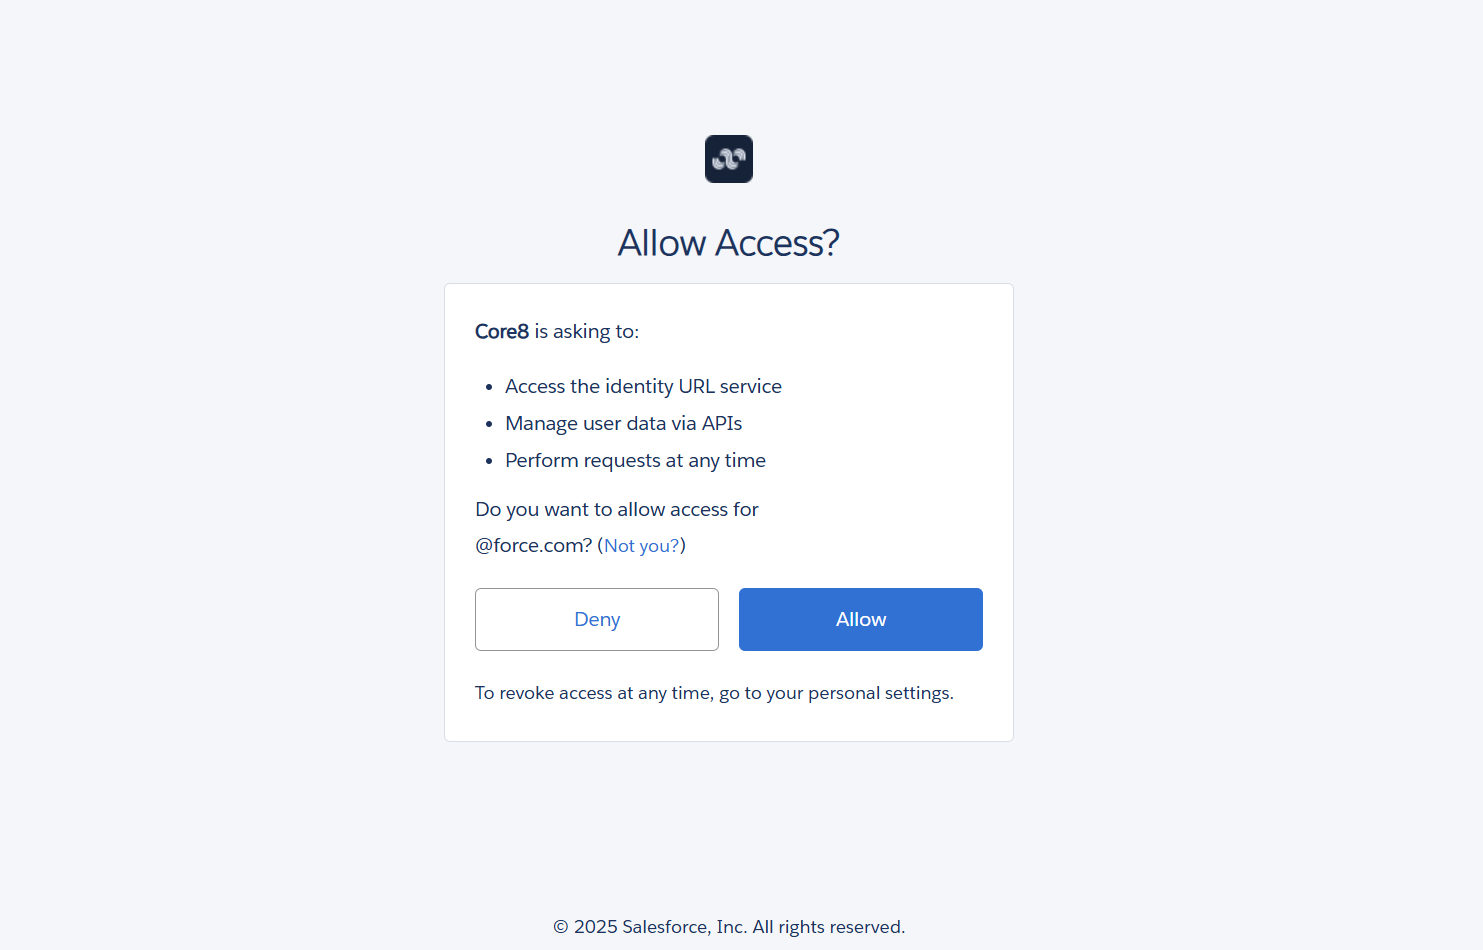
In the Salesforce authorization screen, click Allow.
- Return to Core8 and wait for the page to reload. When the connection succeeds, you’ll see a Connected badge.
Configure in Core8 (recommended)
After connecting, open the Configuration tab on the Salesforce integration page and:- Select the Pricebook Core8 should use for opportunity product/service line items.
- Map Salesforce fields to Core8 values (for example Opportunity stage, deal type, and delivery status).
Verify and troubleshoot in Core8
Use the Salesforce integration tabs to verify the connection and diagnose issues:- Logs (
?view=logs) for integration issues/logs. - Changes (
?view=changes) to review what changed during sync. - Data (
?view=data) to inspect synced objects.
Troubleshooting Tips
invalid_client or “app must be installed into org”: Confirm the org is authorizing the correct Connected App (matching the consumer key/secret in Core8) and that you are using the correct login domain.INSUFFICIENT_ACCESS on Accounts/Opportunities/etc.: Revisit the permission set—object and field permissions must be enabled for the integration user.- Unable to add products to opportunities: Ensure Product2, PricebookEntry, and Pricebook2 permissions are set and the Standard Price Book is active.
- Only partial user list: Make sure the permission set grants
View Allon the User object. - Sandbox login failing: Start the flow from
https://test.salesforce.comor choose the “Sandbox” option in the Core8 UI if available. IP restriction errors (e.g., OAUTH_APP_ACCESS_DENIED, invalid_grant): If you enforce login IP ranges on the integration user or connected app, whitelist Core8’s outbound IPs via Salesforce Network Access (user login IP ranges) or the Connected App’s IP Relaxation settings in the app’s policies (contact Core8 support for the current list until the network requirements doc is published).- Intermittent sync failures or throttling: Check your Salesforce org’s API usage (
Setup → Company Information → API Requests, Last 24 Hours) and adjust polling volume or limits if needed.